How to Launch GPU H100 notebook
Select from pre-built or one of your own images, Next you choose GPU H100 plan and click on create button.
Notebook options
Disk Size: Each TIR Notebook can have a disk size upto 1000GB. The default is 30GB. The selected disk will be mounted at /home/jovyan in your notebook environment. We recommend using this path as your workspace so in case of restarts, your content will be persistent. Since, TIR is container-native, the changes that you make to any other paths on the notebook will not be persisted on restarts. You can extend the disk size after the start of notebook as well. This workspace will be deleted when the associated notebook is deleted.
Note
Please raise a support ticket if you need more than 1TB of disk workspace.
Local NVME Storage: Only available for GPU H100 plans. This fast local storage will be available at /mnt/local andonly for the duration of run. We recommend using this path when you need faster writes (e.g. save model checkpoints) or reads. Be sure to move this data to EOS bucket or under /home/jovyan before shutting down the notebook. This type of storage is fixed and can not be expanded at anytime during the notebook cycle.
Note
By default, you receive 1000 (GB). The size of the local storage is fixed and cannot be altered.
Plan (Pricing): You can choose between an hourly or committed plan. We recommend using committed plans as they offer discounts and also may offer access to local NVME storage (for H100 plans only).
Notebook Image: TIR environments are container-native. You can use pre-built images with well known frameworks like pytorch, tranformers or customise the pre-built images. You can make your own images TIR-compatible using image builder utility. We recommend starting with pre-built images. In case you need to install packages from pip or apt-get, we recommend doing so from a jupyter notebook (.ipynb) or maintaining requirements.txt.
Delete Notebook: When a notebook is deleted, all the resources associated with it will be deleted including the workspace (disk).
Steps to create GPU H100 notebook
To create a Notebook you have to click on Create Notebook which is at the left corner of the page.

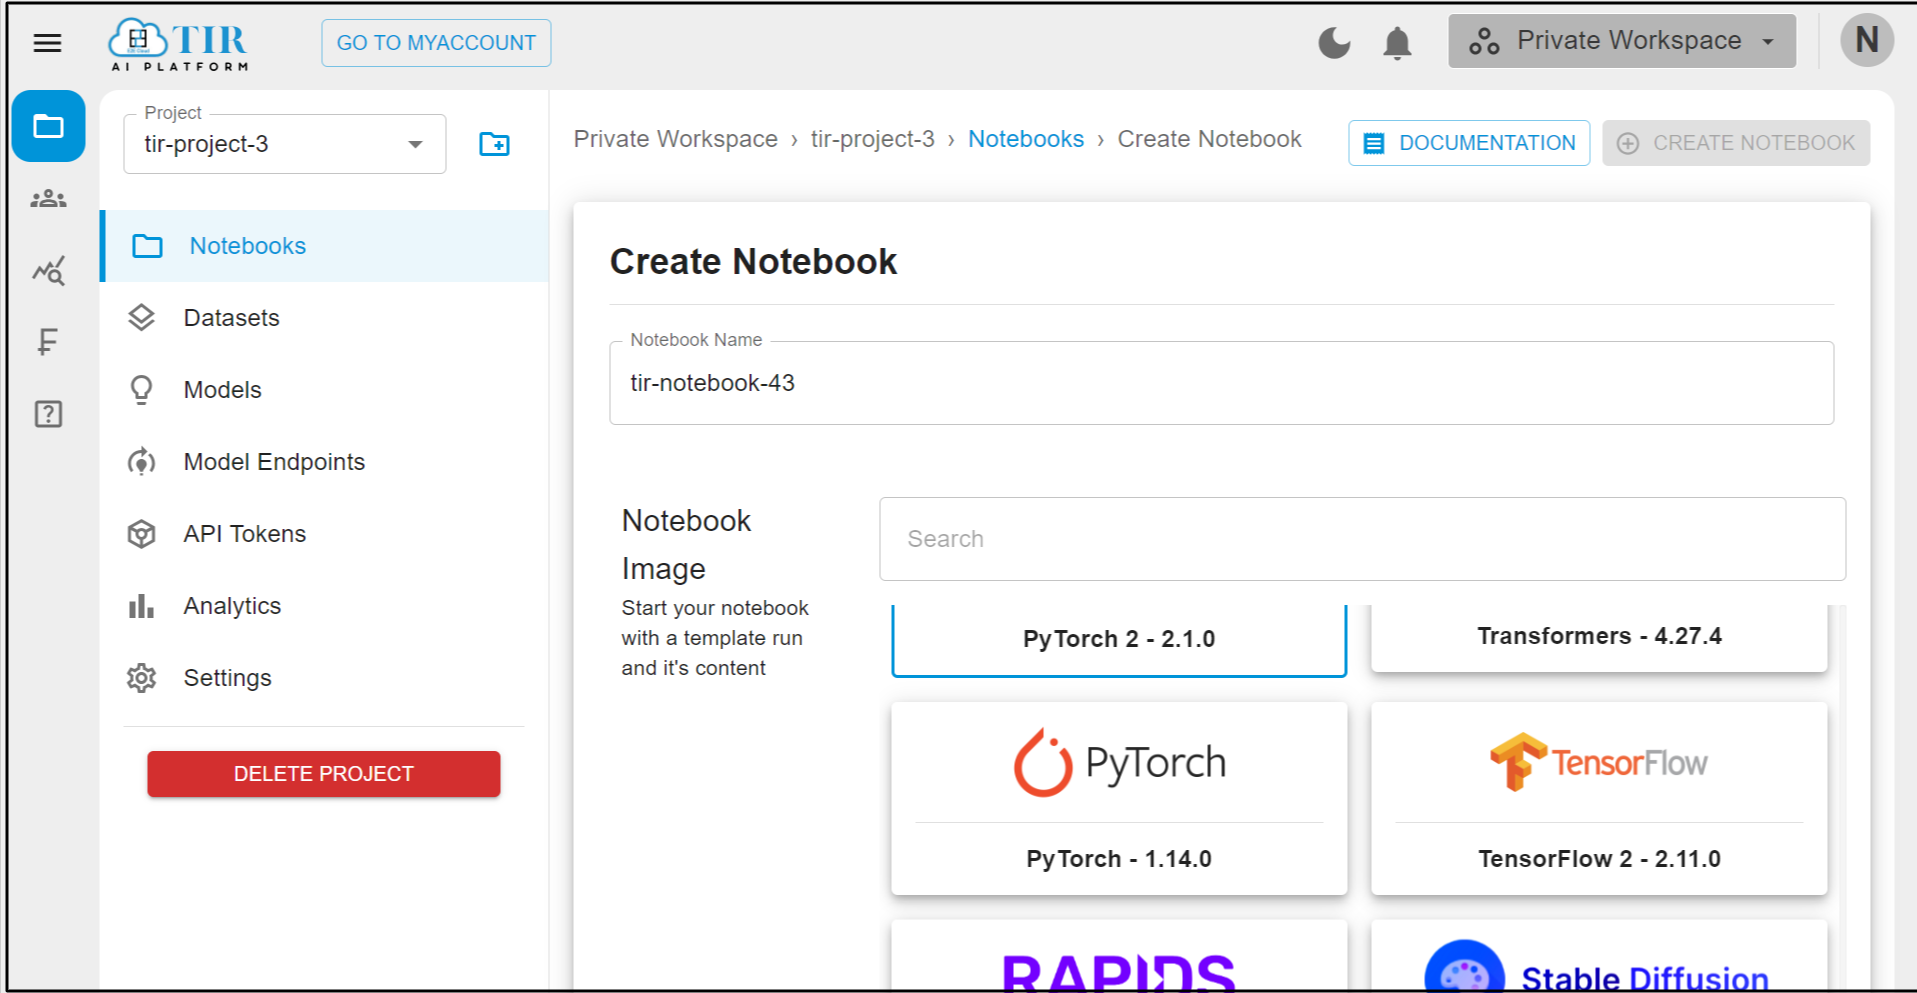
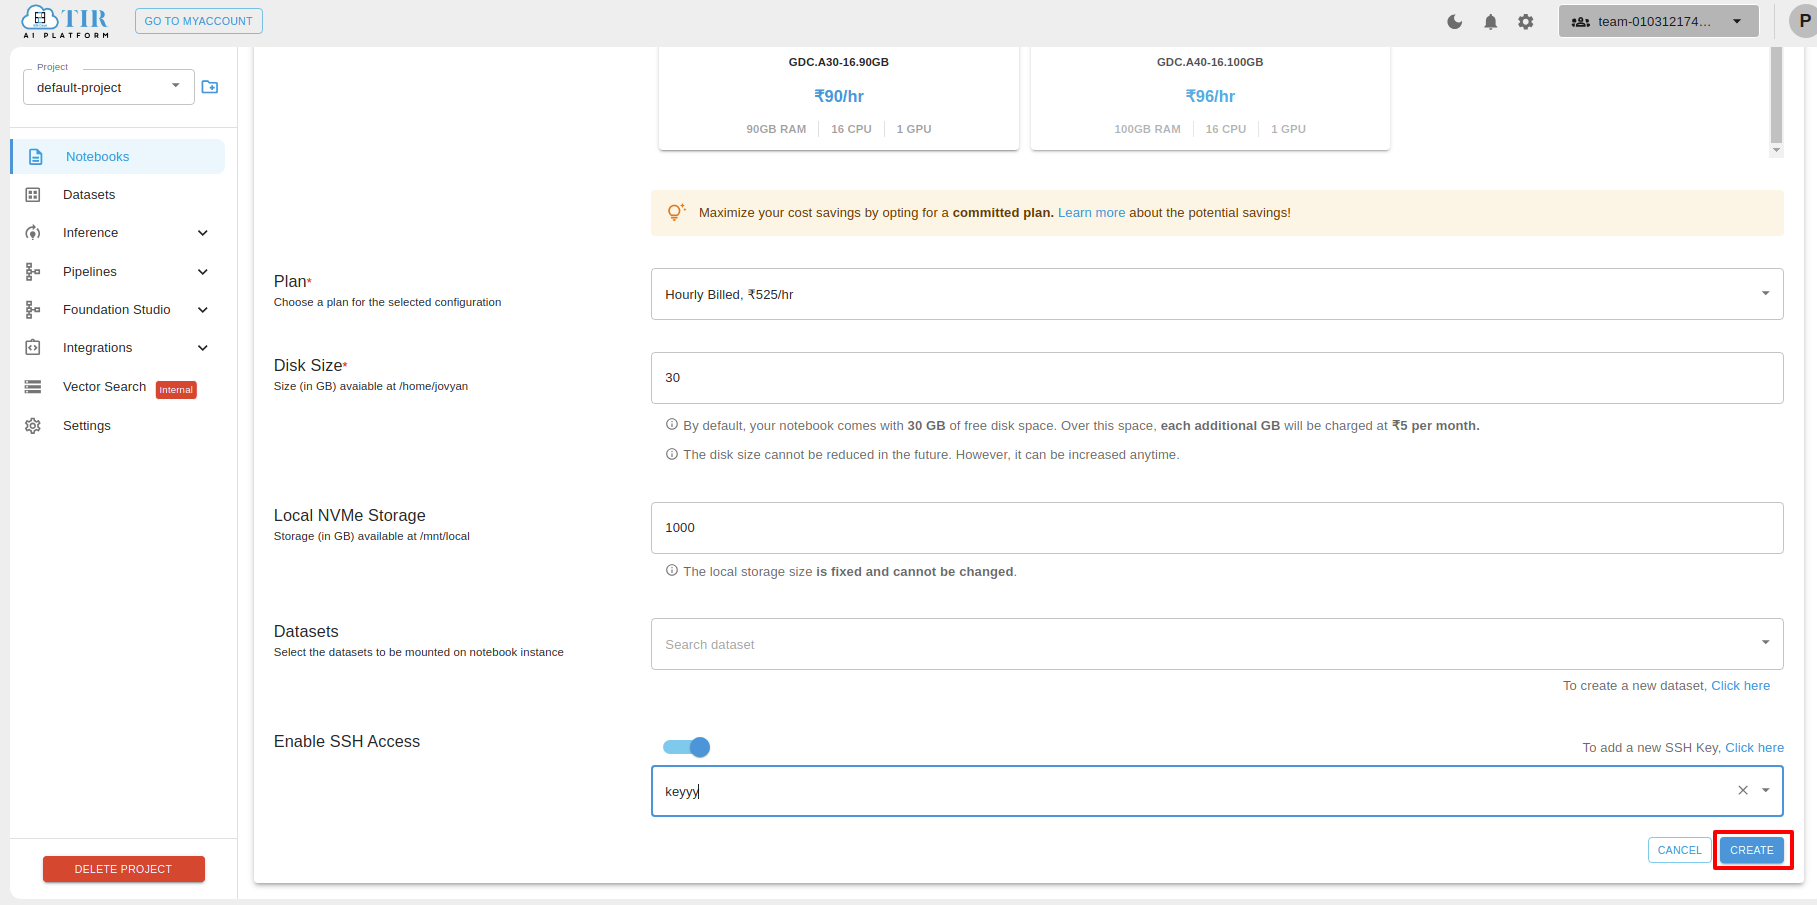
After clicking on the Create Notebook button a page will appear, now enter Notebook name, choose the Notebook Image and select the GPU H100 machine to run your service, and then choose the plan, After that click on Create button.
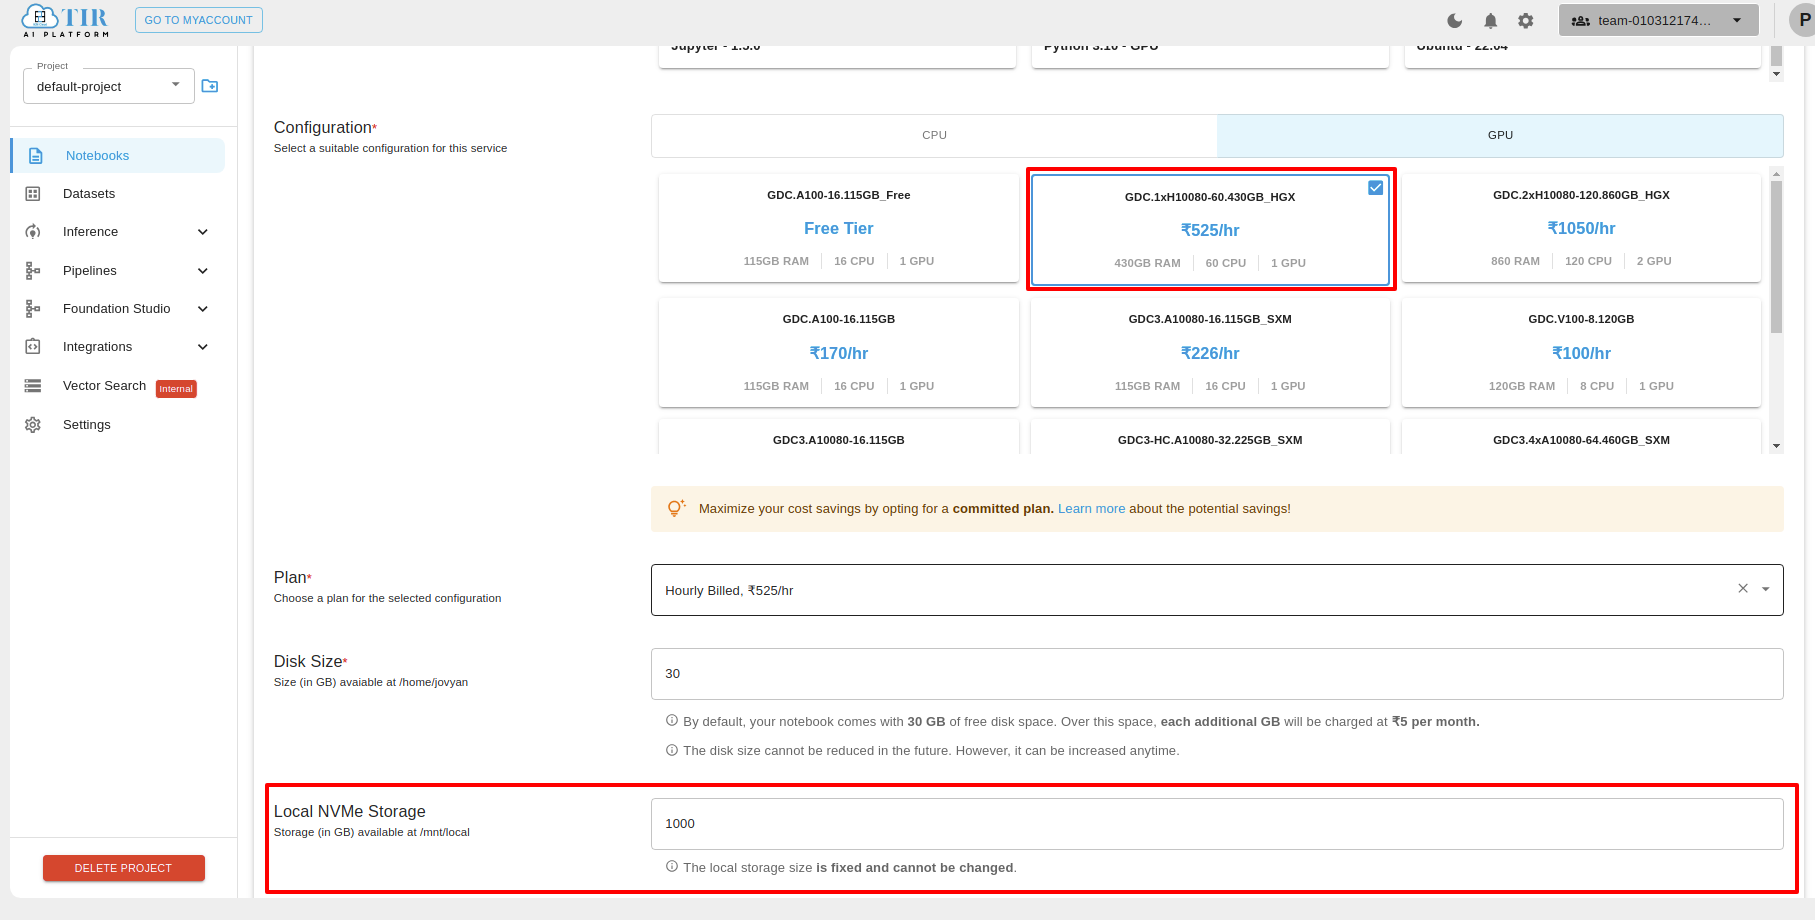
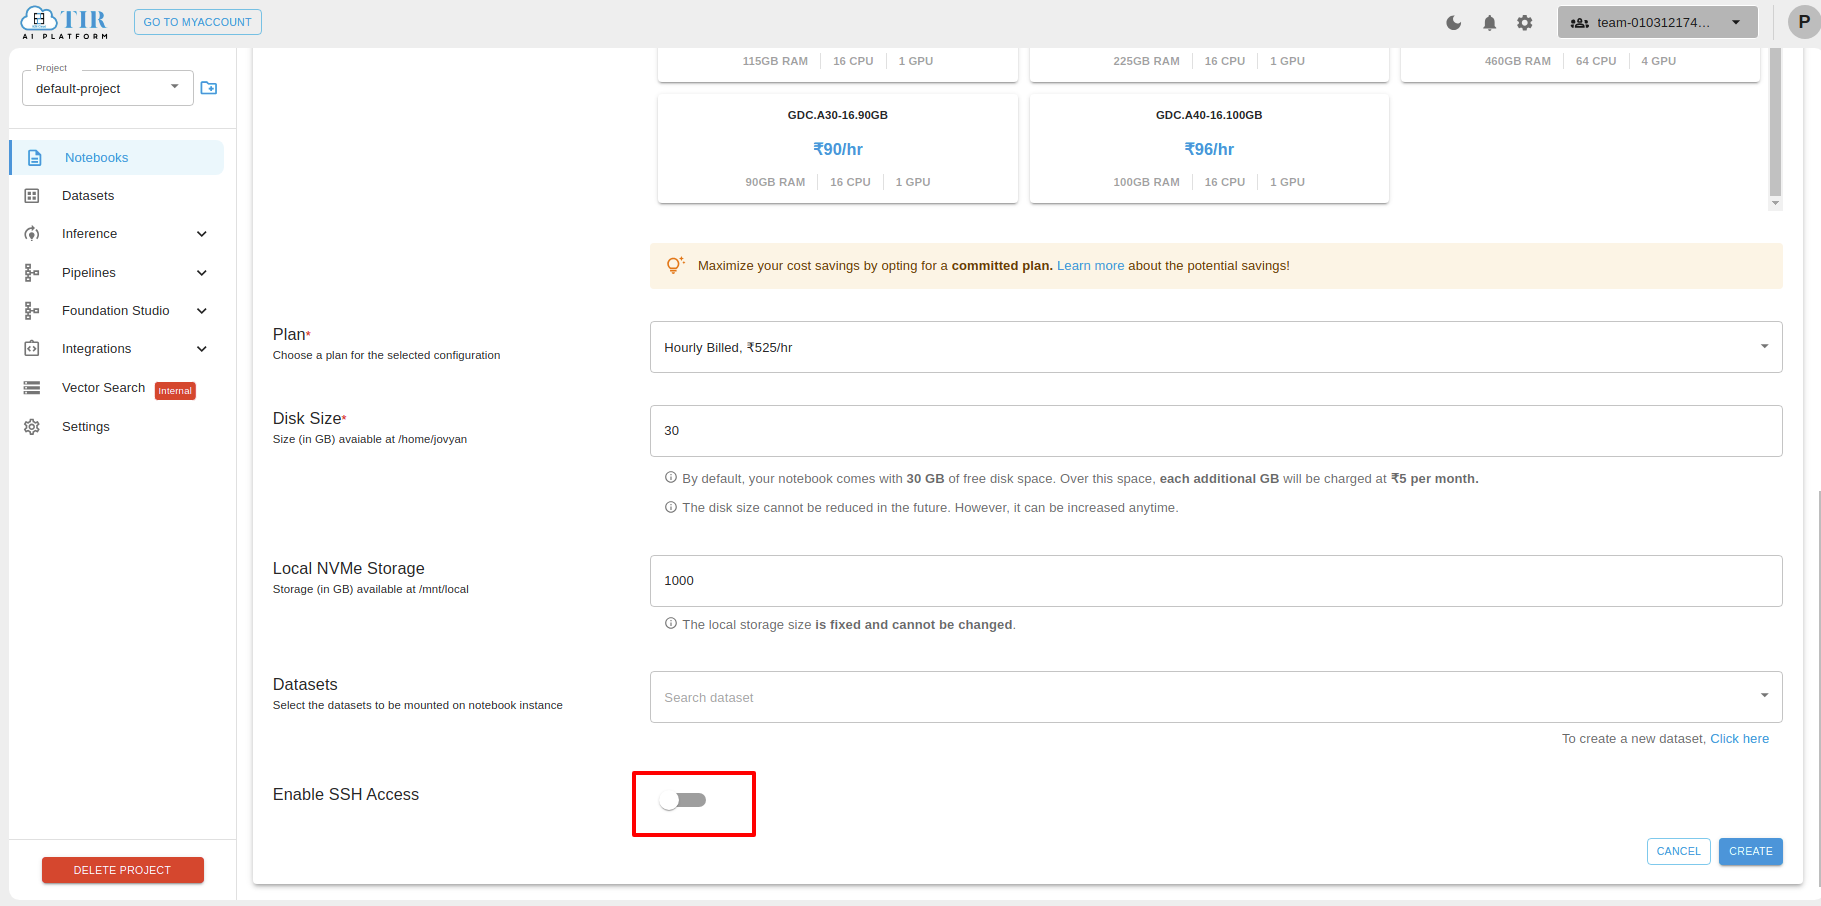
After entering all the details Disk Size, Datasets and ssh key you will click on the create button for creating a notebook.
After clicking on the create button your GPU H100 will be created and it will be shown like this.
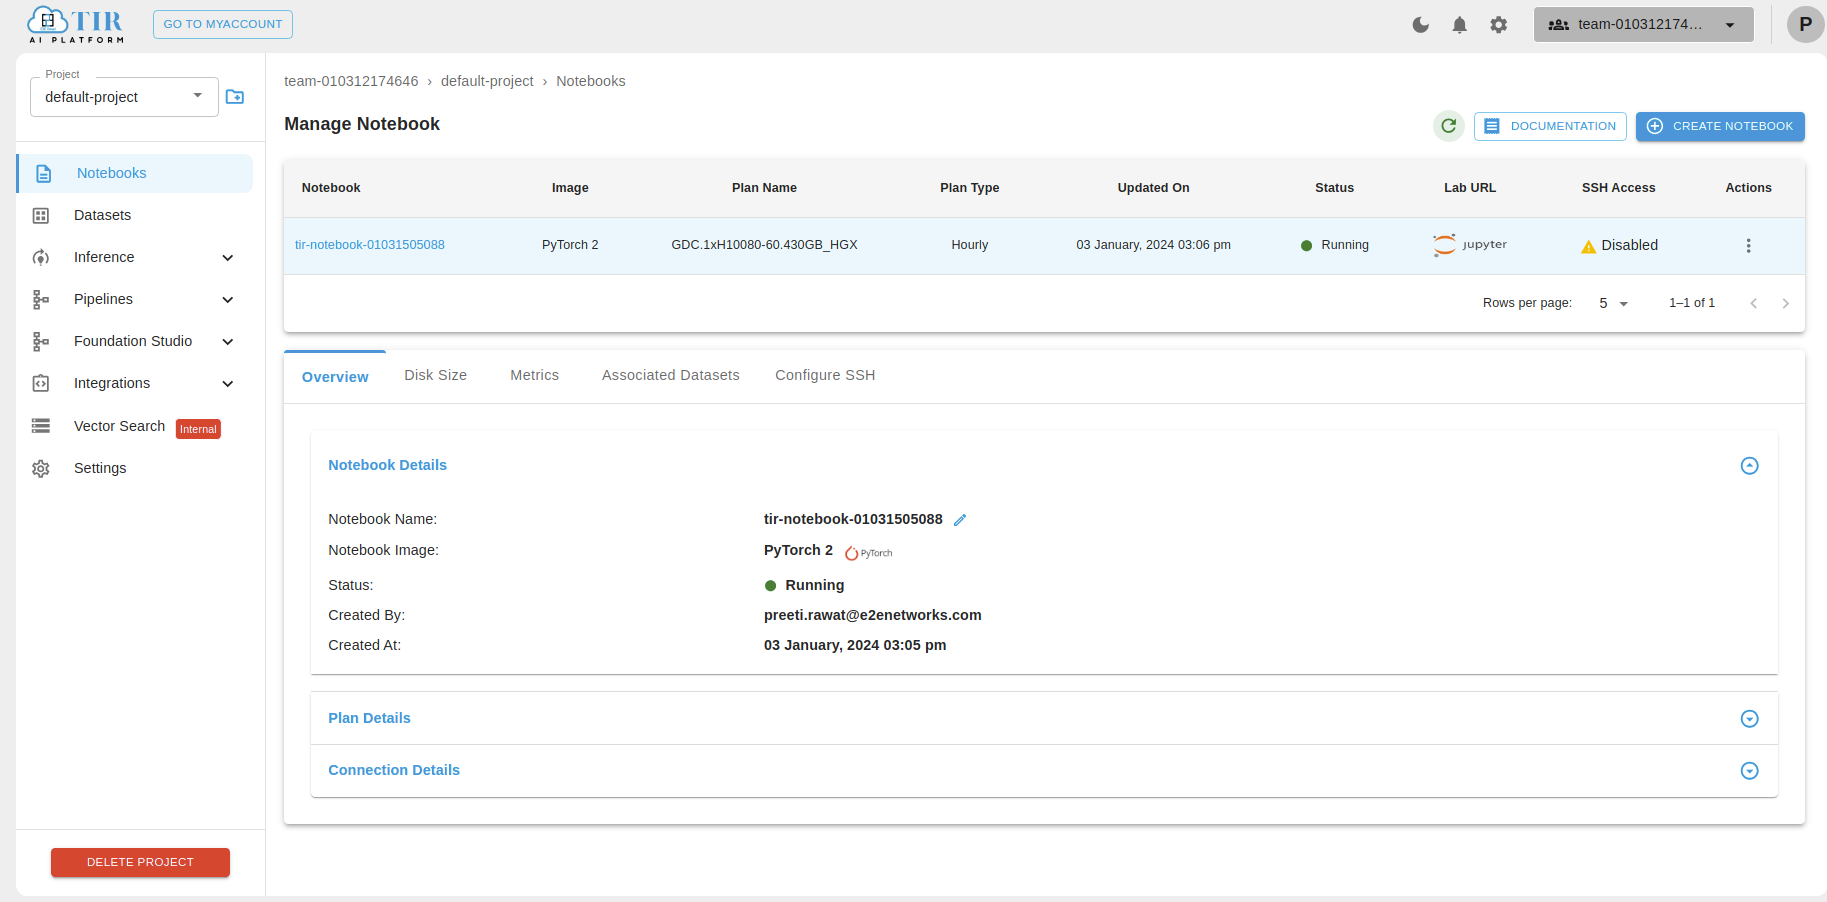
Notebook Details
Overview
You can see the Notebook Details, Plan Details under Overview tab.

Disk Size
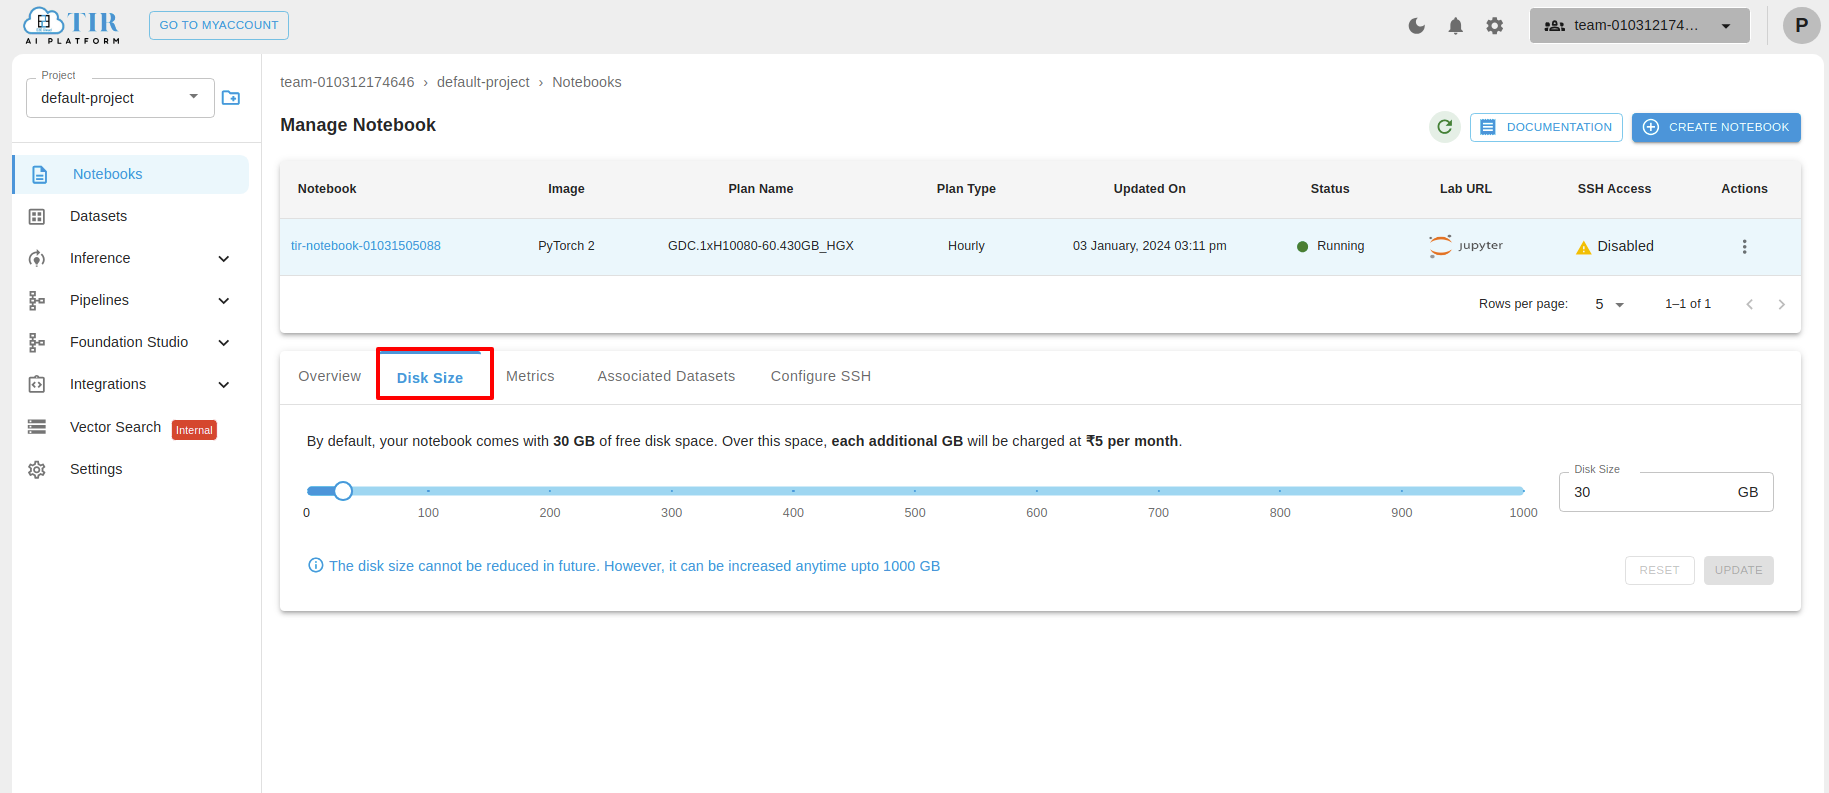
You can see the details disk size and also You can change the Disk size as per your requirements.
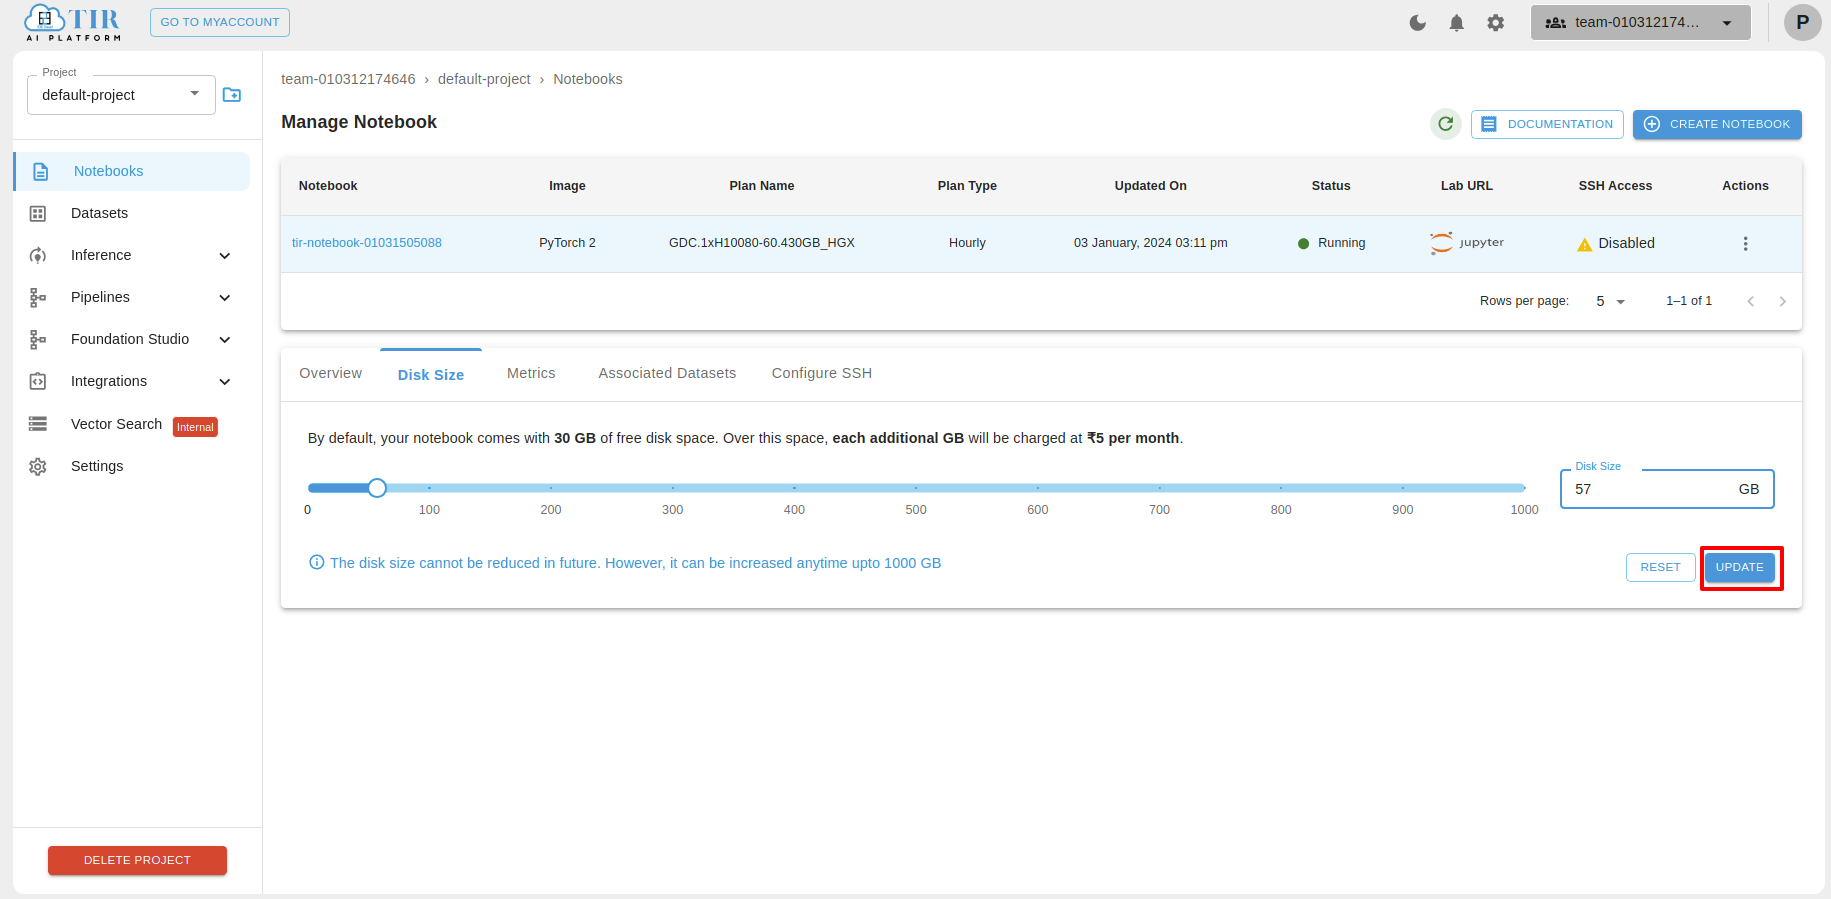
For updating the disk size you have to change the disk size and then click on update button.
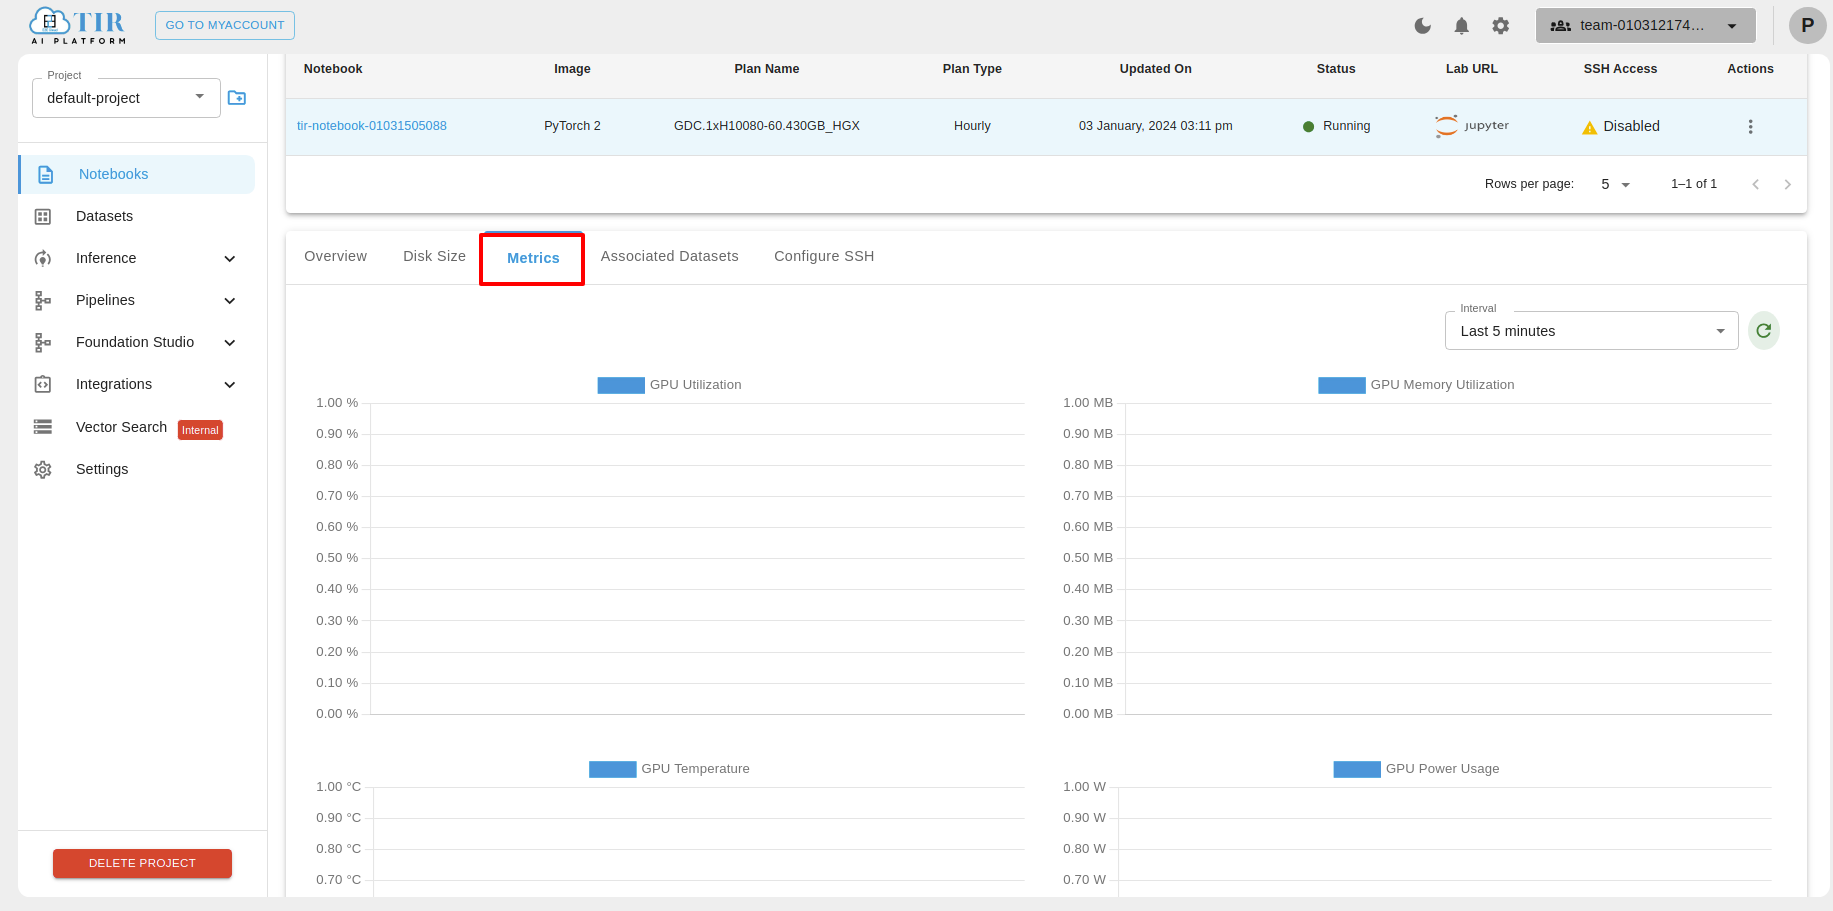
Metrics
You can see the Metrics graph in CPU Utilization , Memory Utilization & Interval.
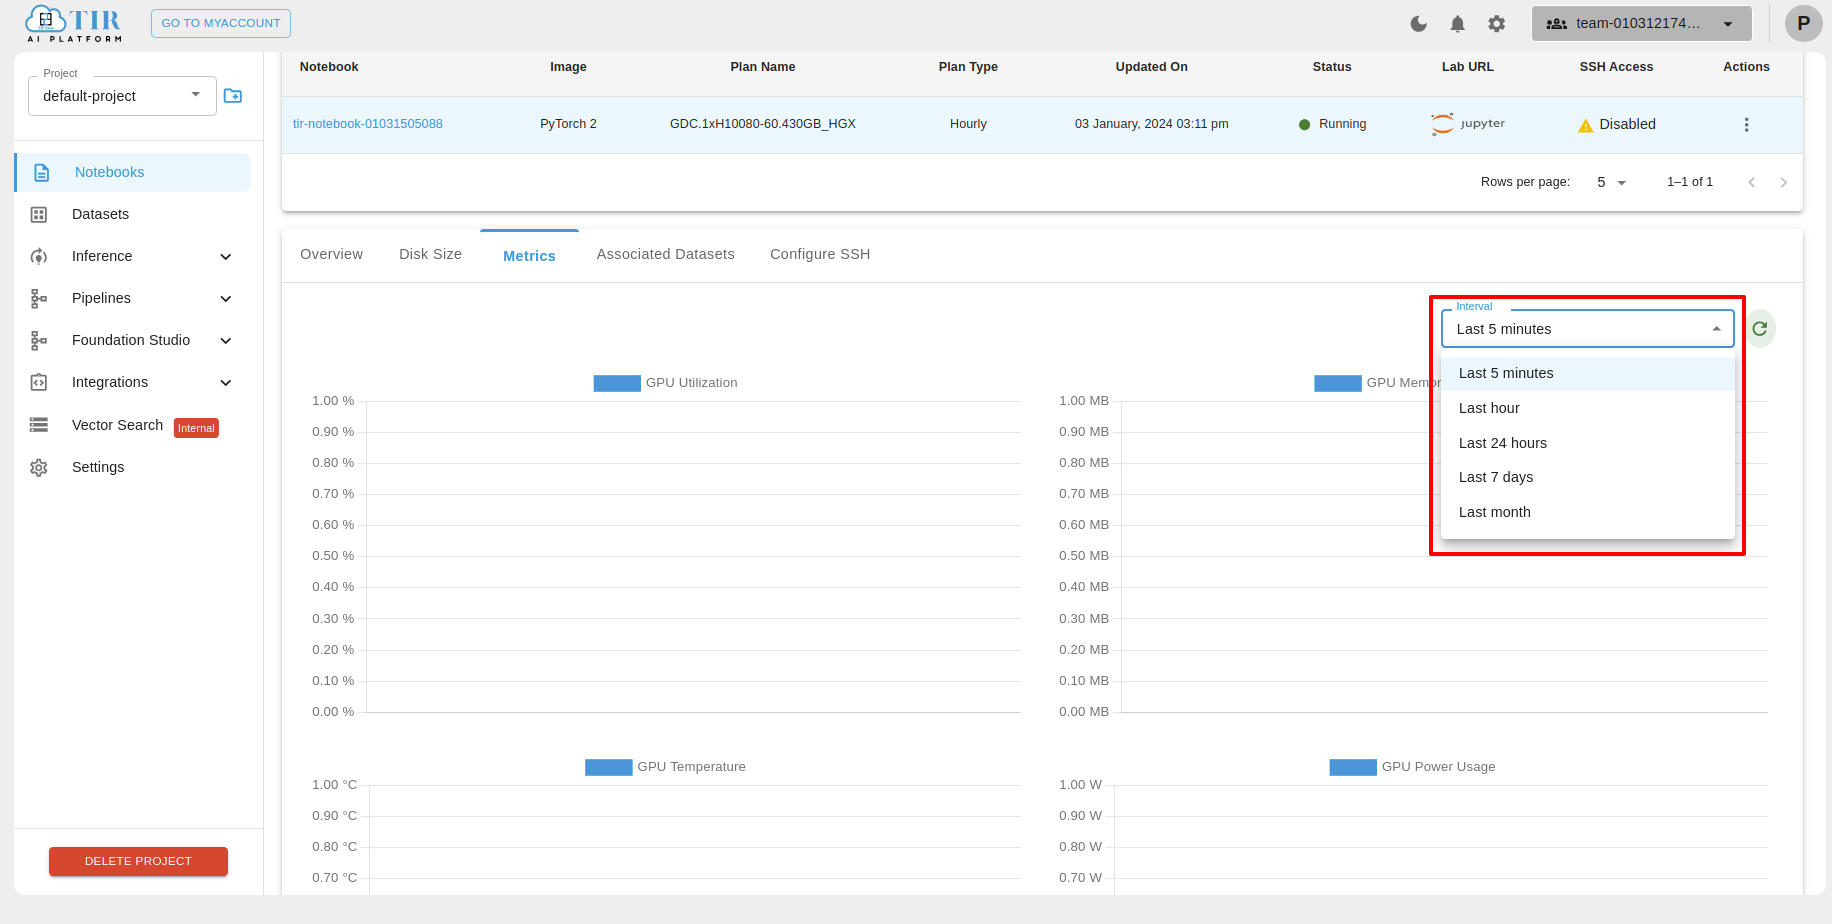
You can see the one month activity as per your requirement in days & hours.
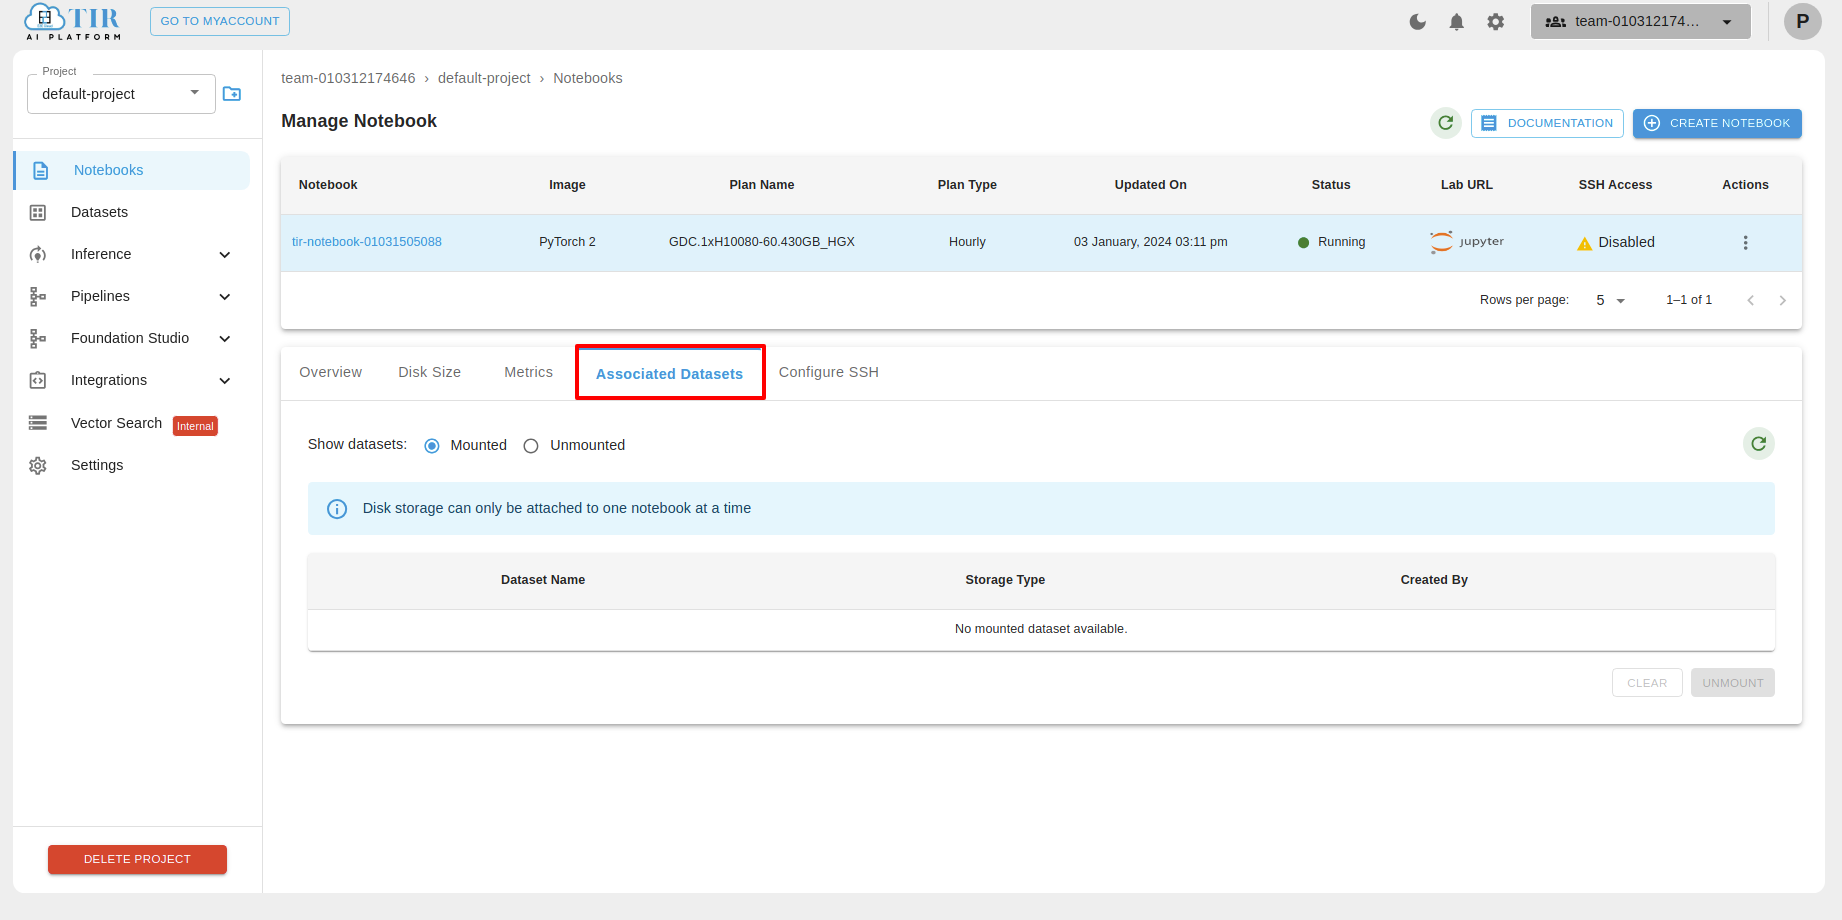
Associated Datasets
You can also see the Associated Datasets with two different datasets- Mounted & Unmounted. You can also Unmount.
SSH Key
You can see the SSH Key Details under ssh key tab.

Note
Only one SSH key can be added to a notebook
Here are the Steps to verify the configuration of the GPU H100 notebook using the terminal
Create your notebook with ssh key.
You can access your GPU H100 notebook by clicking SSH Access icon.

After clicking this ssh access icon, you can able to see the command details section.
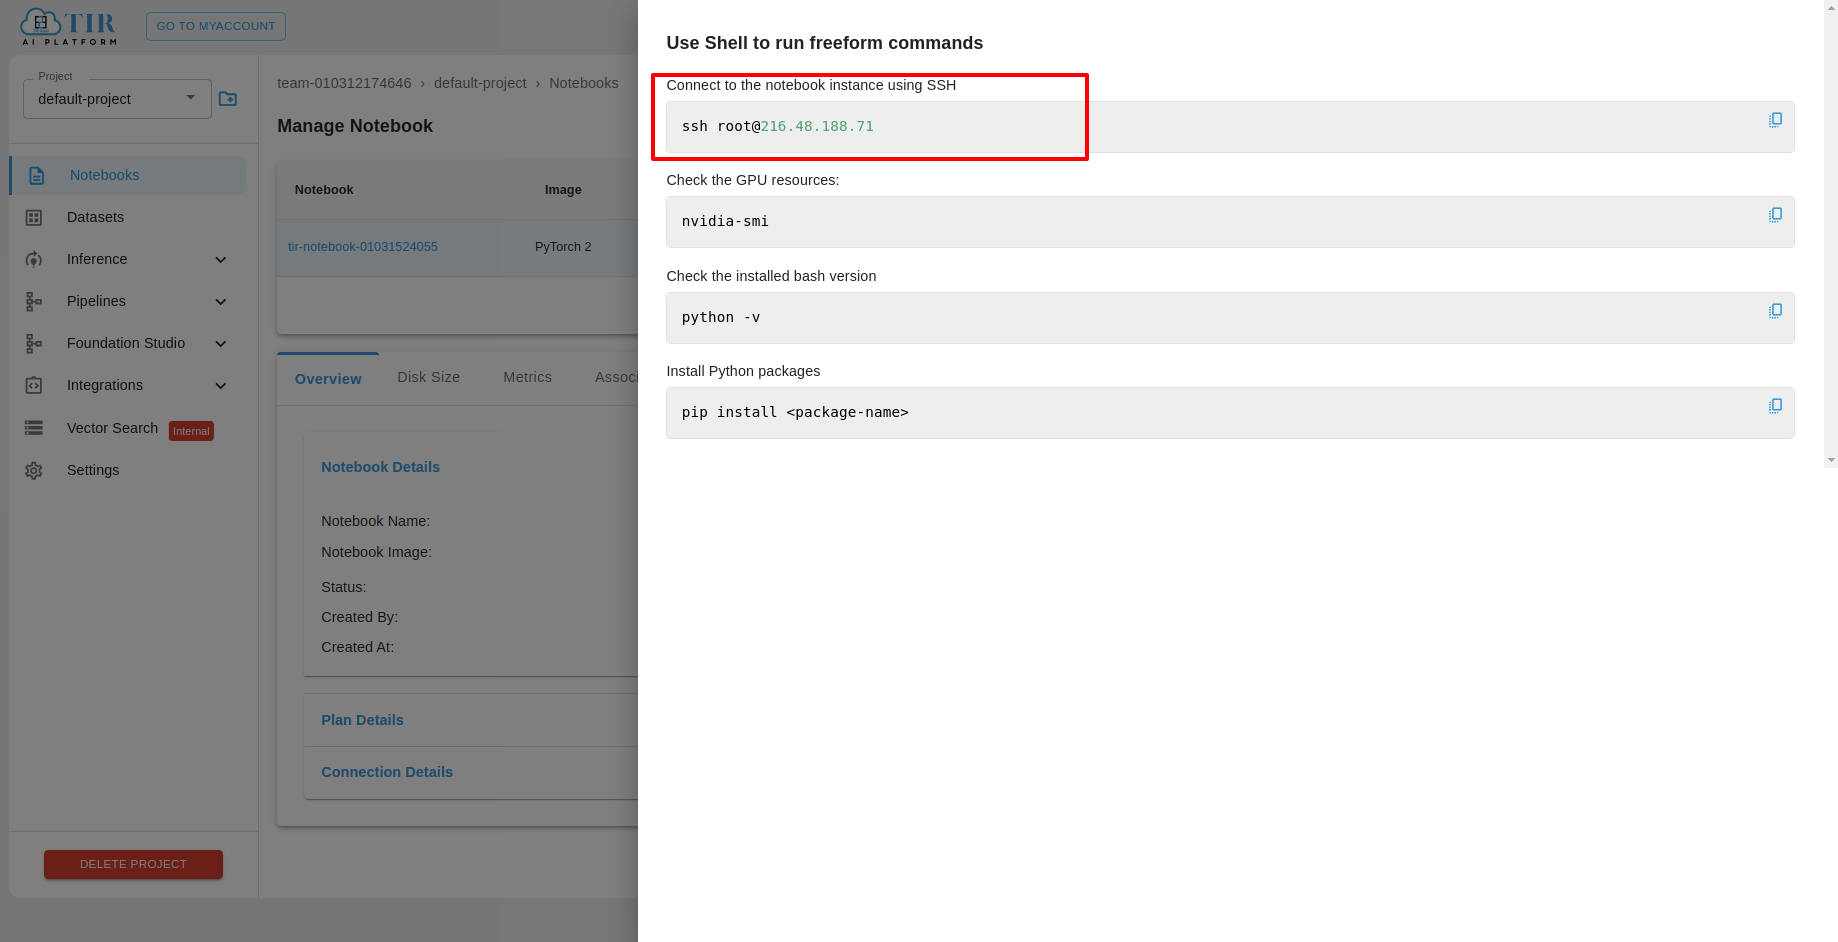
To access your GPU H100 notebook, use this command. ssh root@ip.
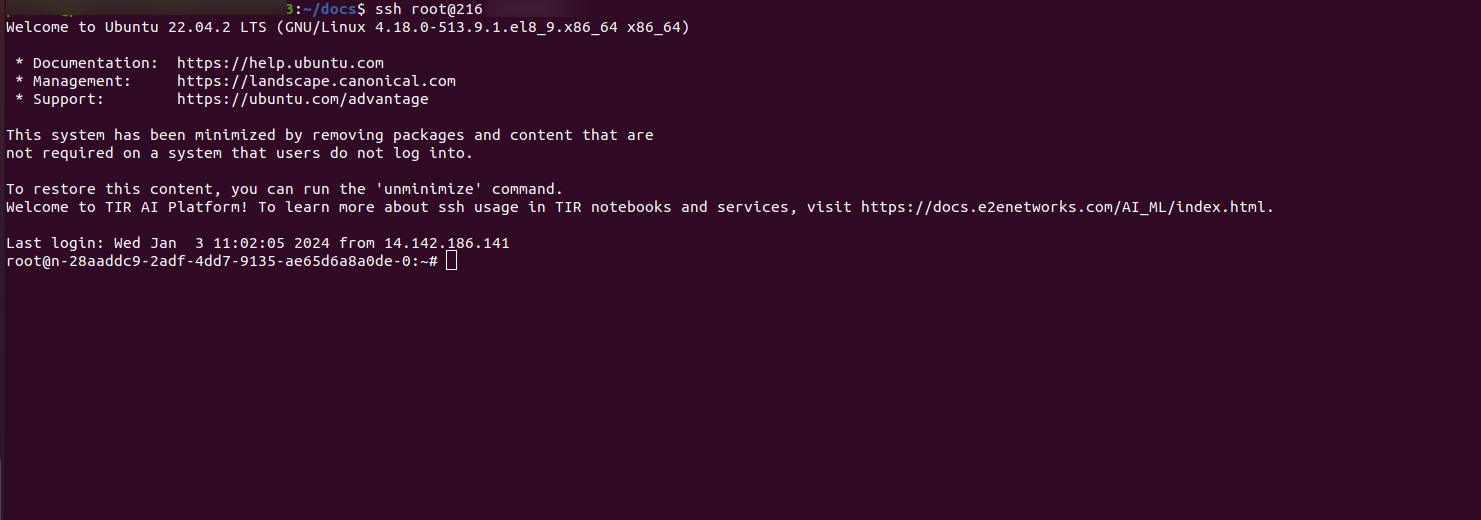
To check the GPU resources, use this command nvidia-smi.


Or you can verify the configuration of the GPU H100 notebook using the Lab URL
To launch GPU H100 notebook click on jupter.

After clicking on jupter you can see that page and click on Python3.
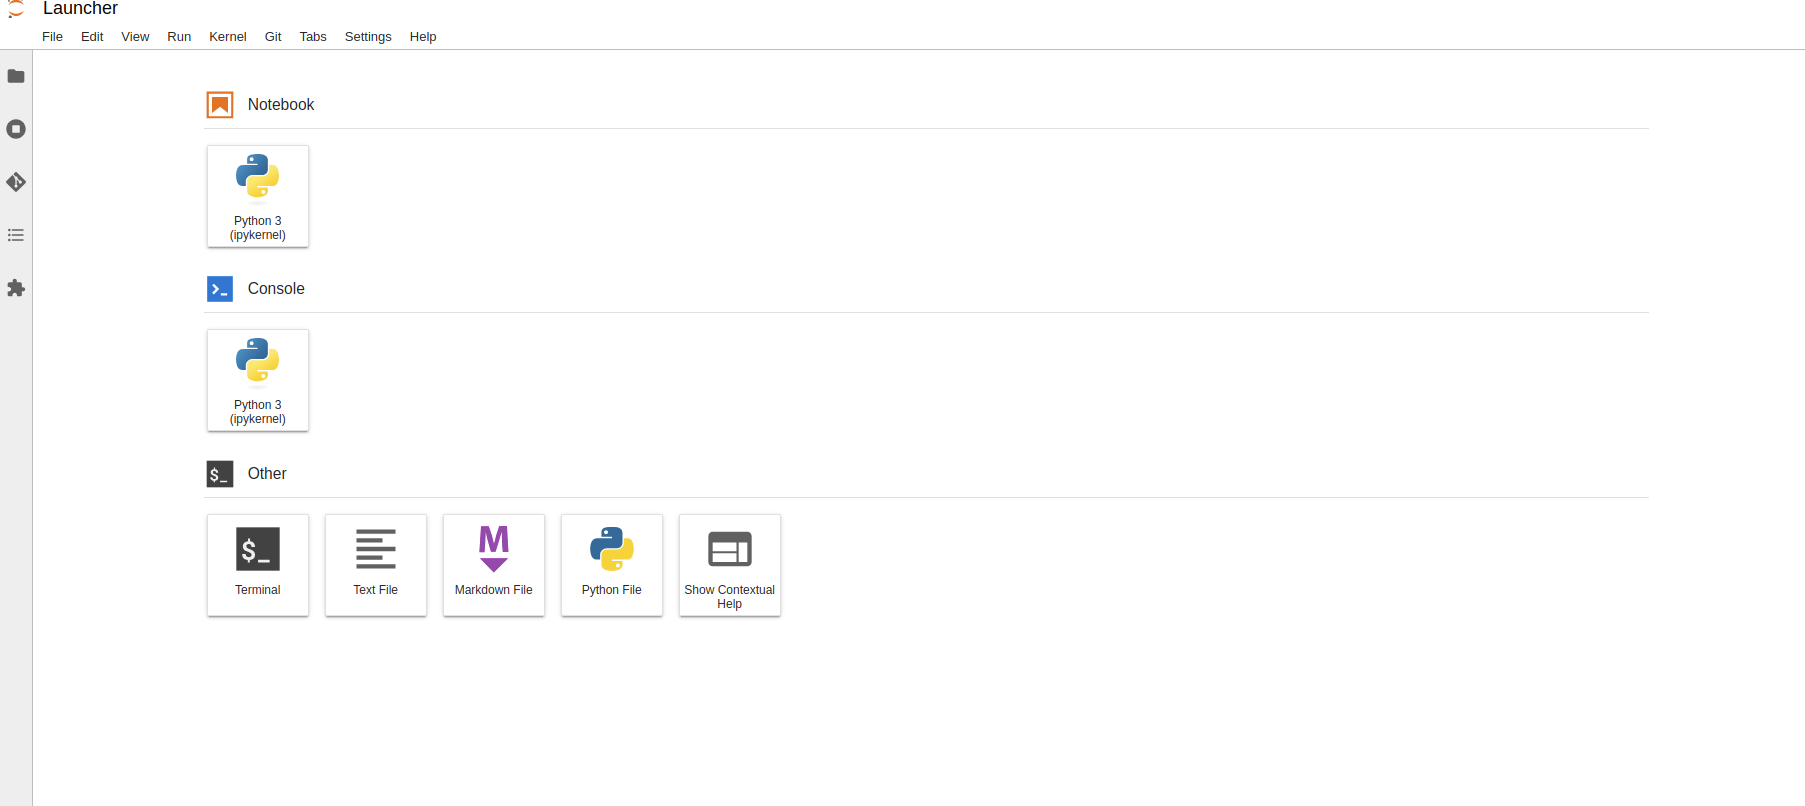
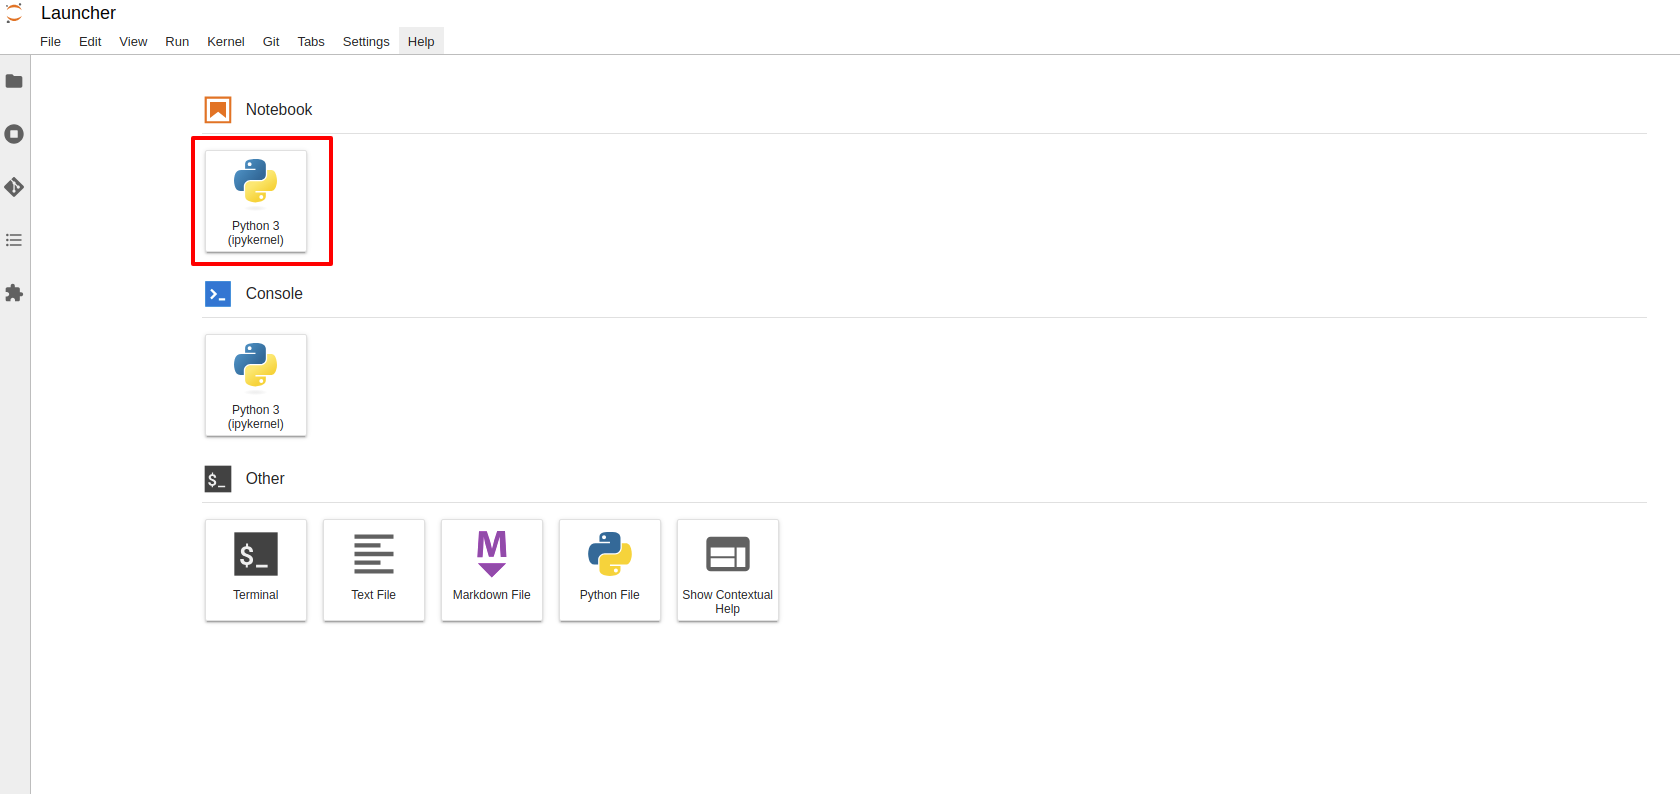
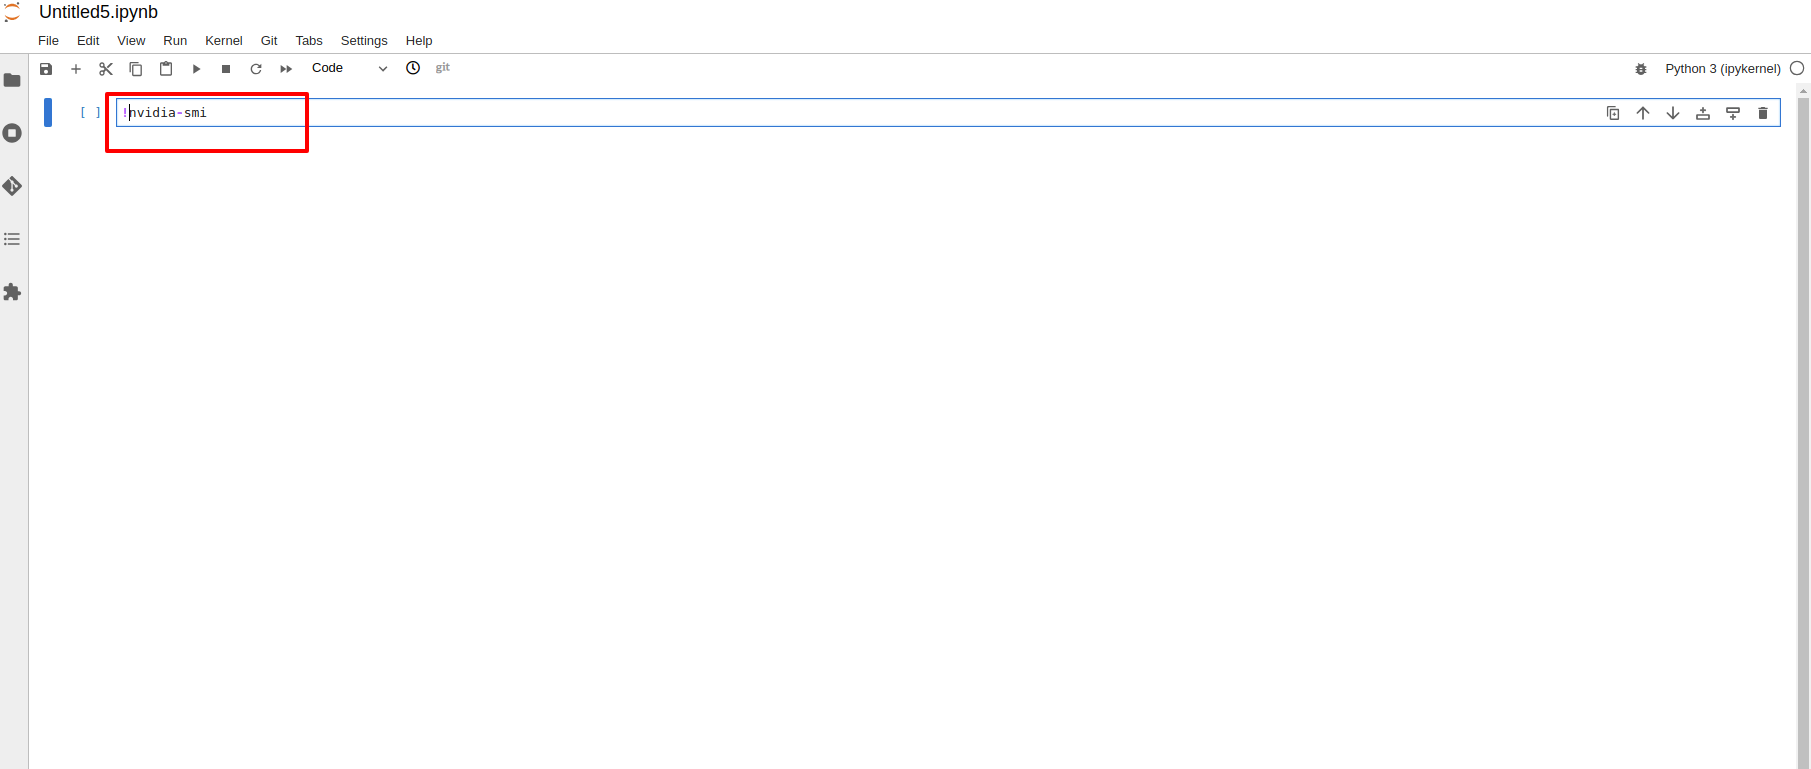
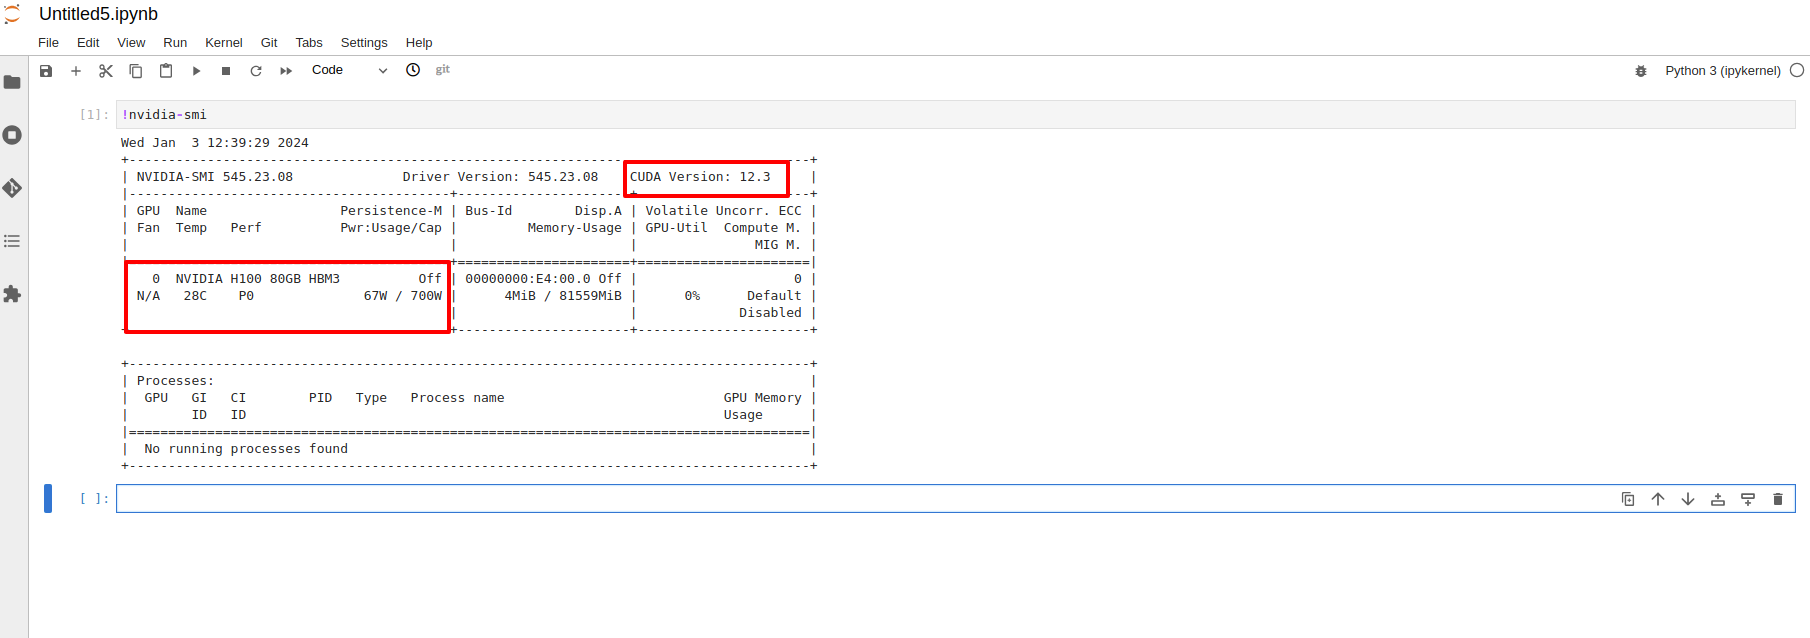
To check the GPU resources, use this command ! nvidia-smi and press shift + enter.
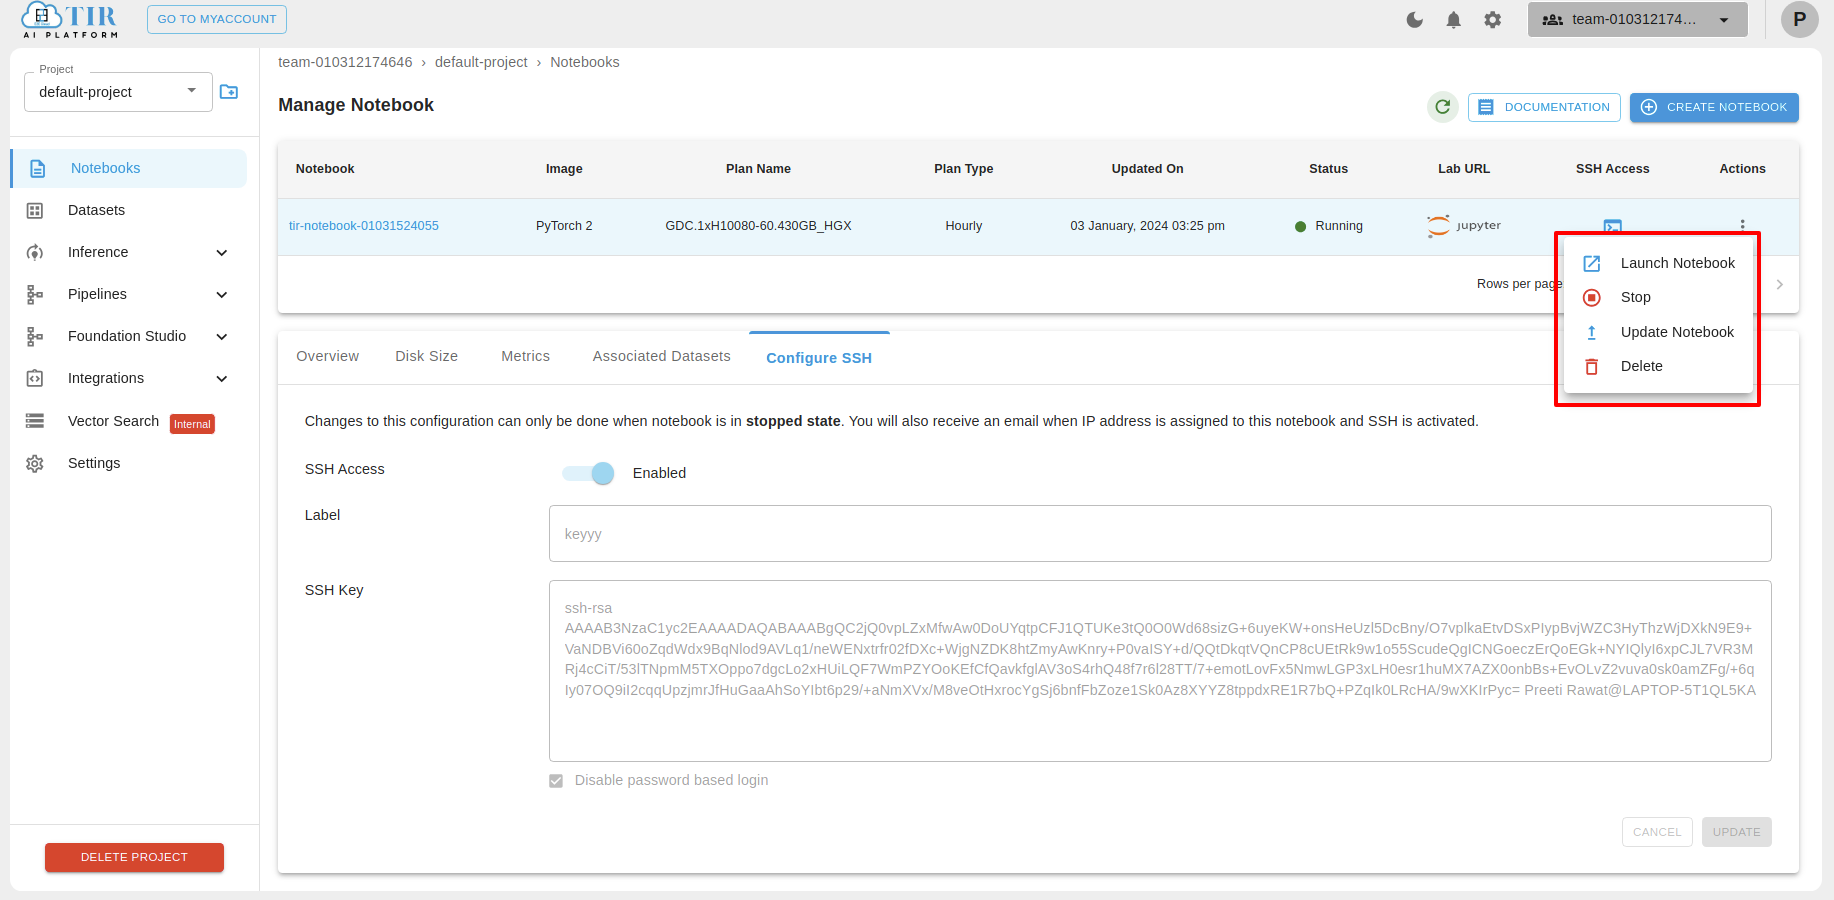
Notebook Actions
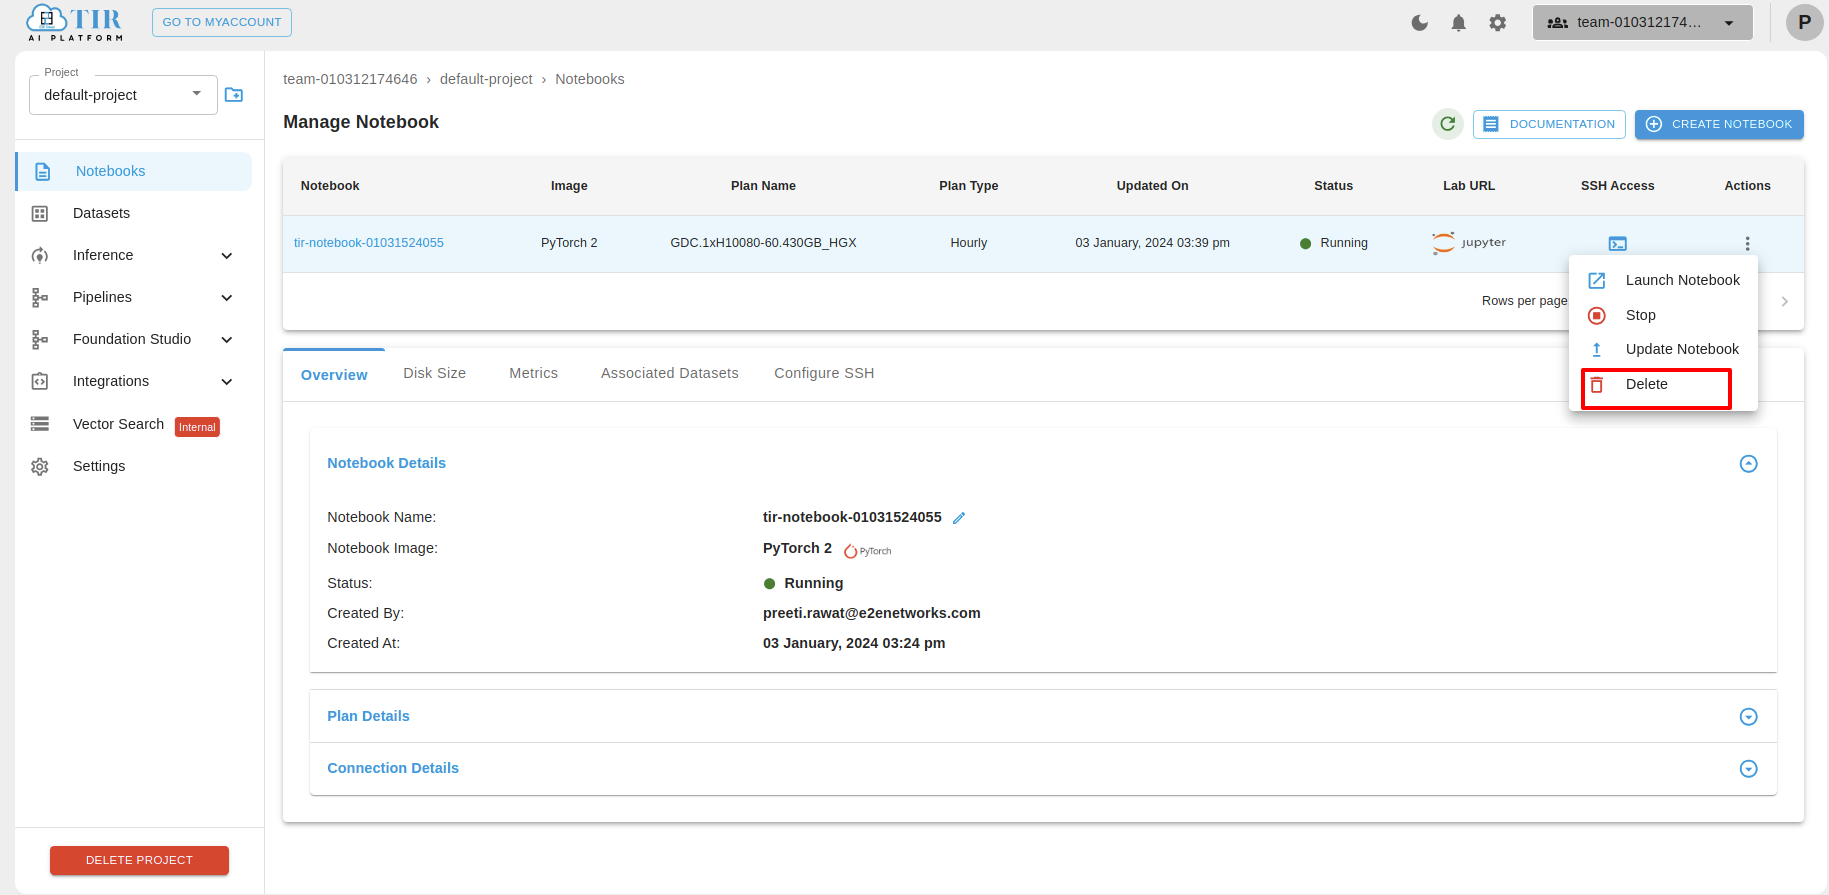
You can see the actions like Launch Notebook, Stop, Update Notebook, Delete.
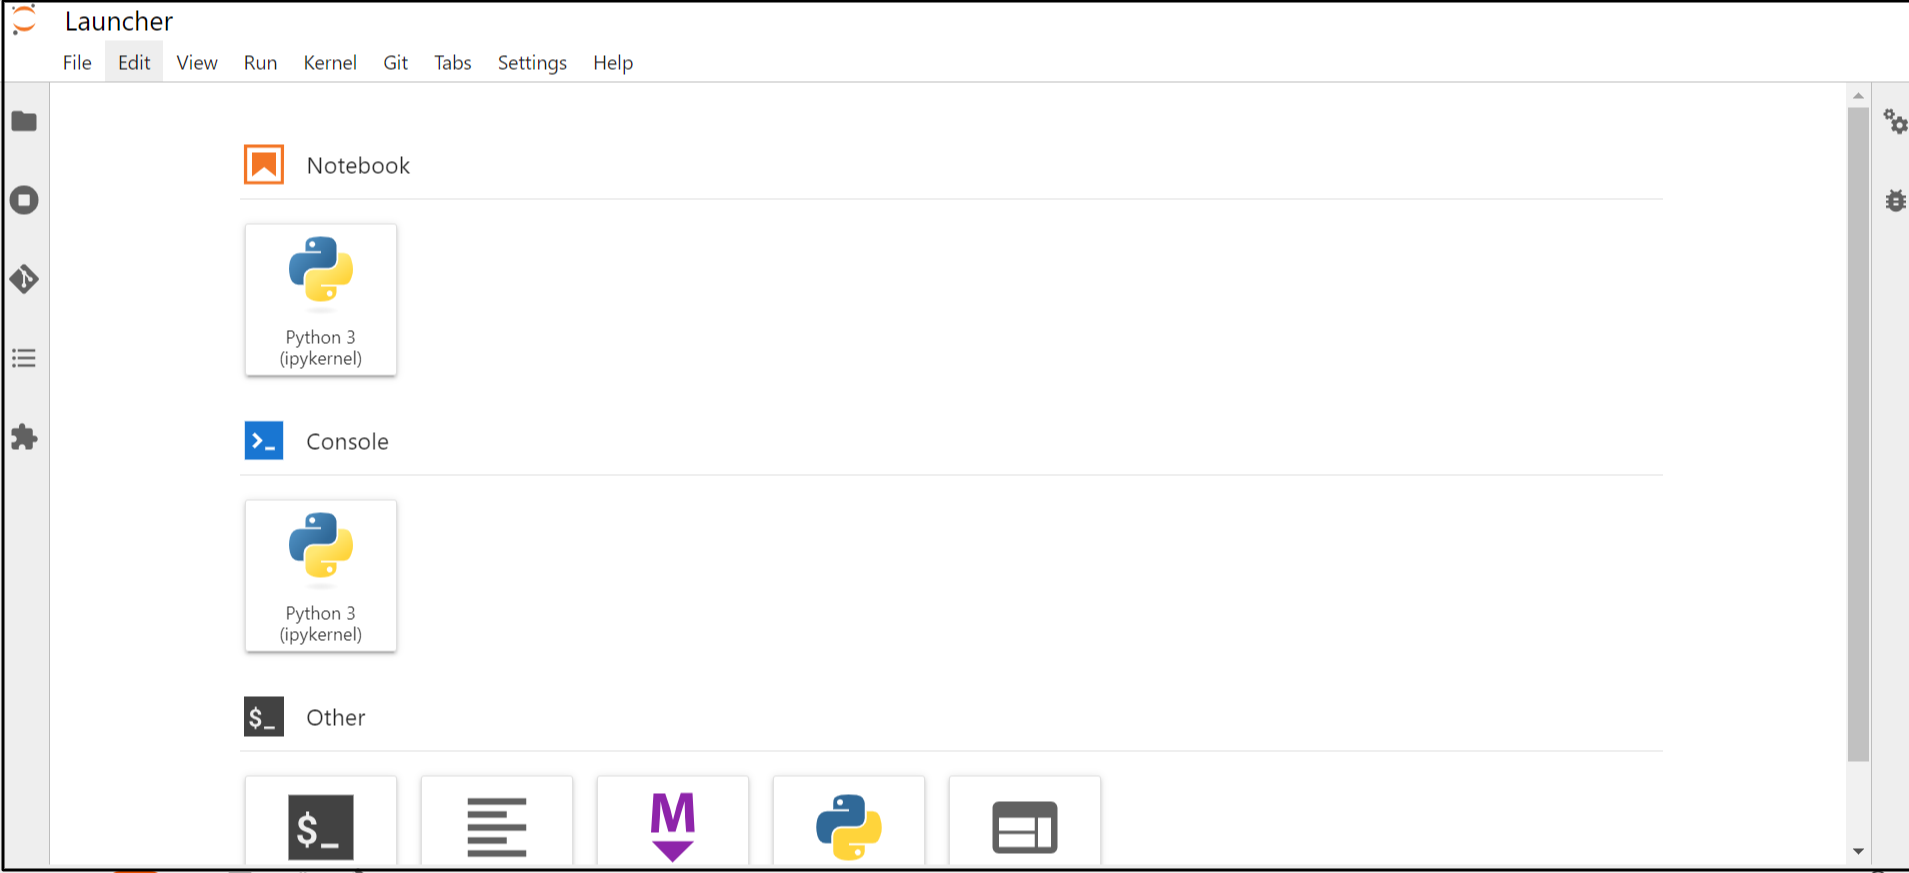
Launch Notebook
After clicking on Launch Notebook, Notebook will be launched and it should be visible like this.

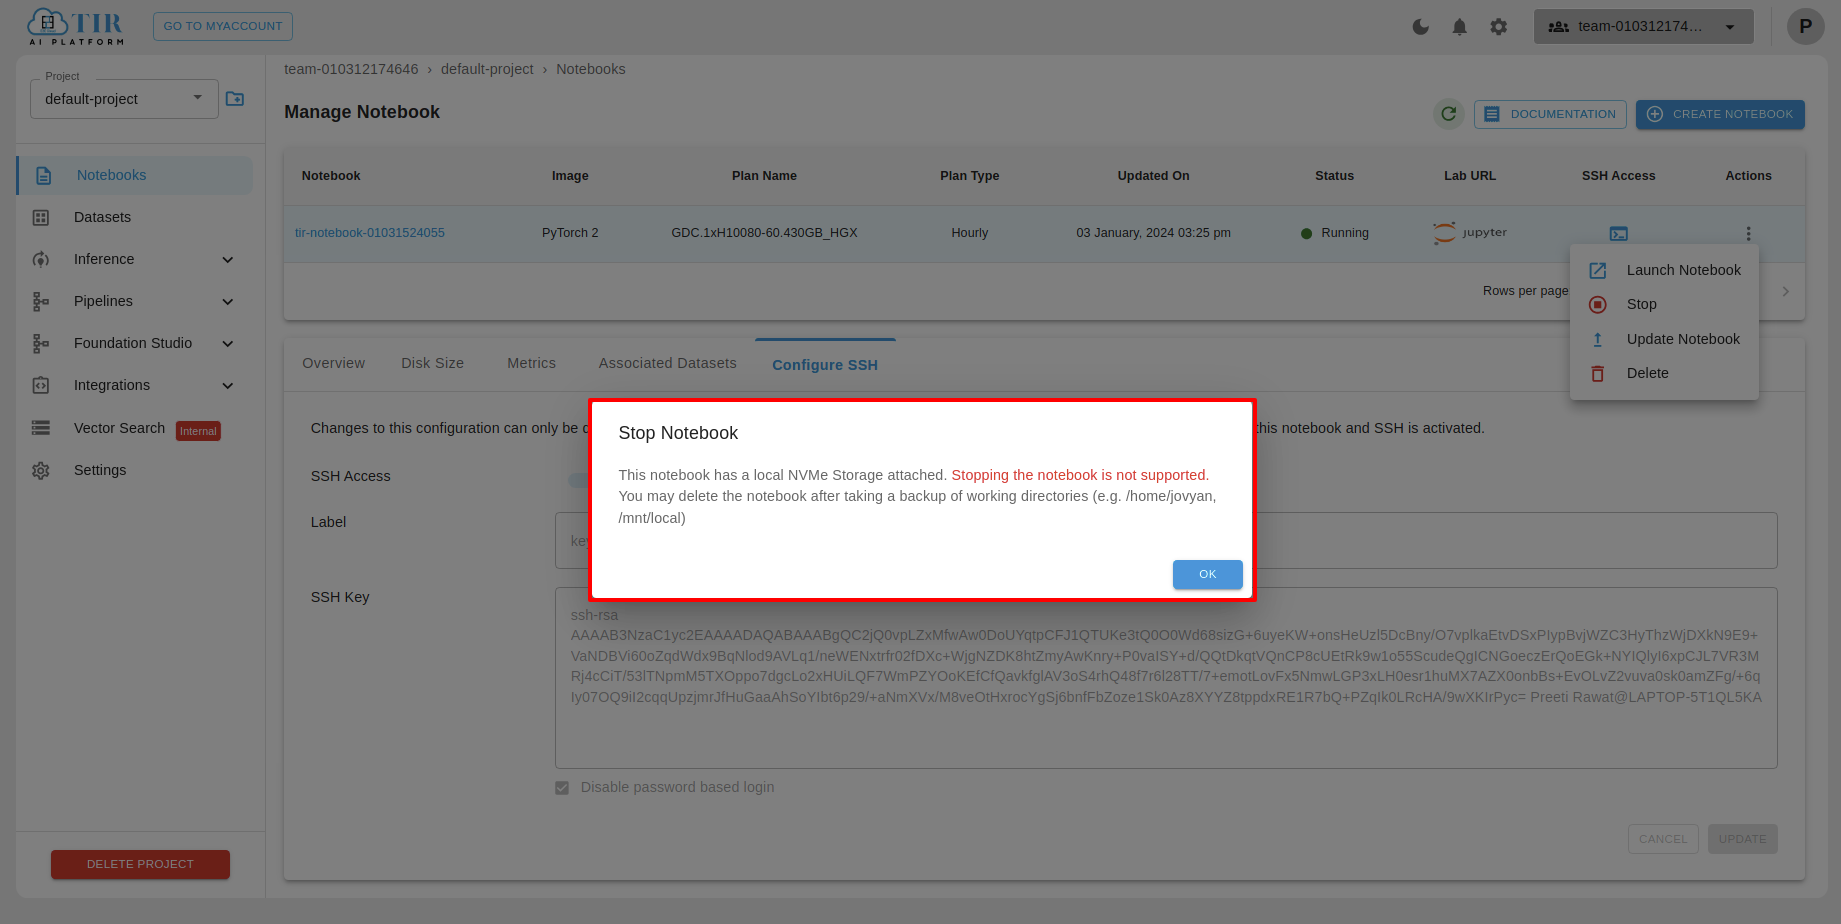
Stop
Note
You can not stop GPU H100 notebook.
Delete Notebook
For Deleting the Notebook you have to click on Delete button.
